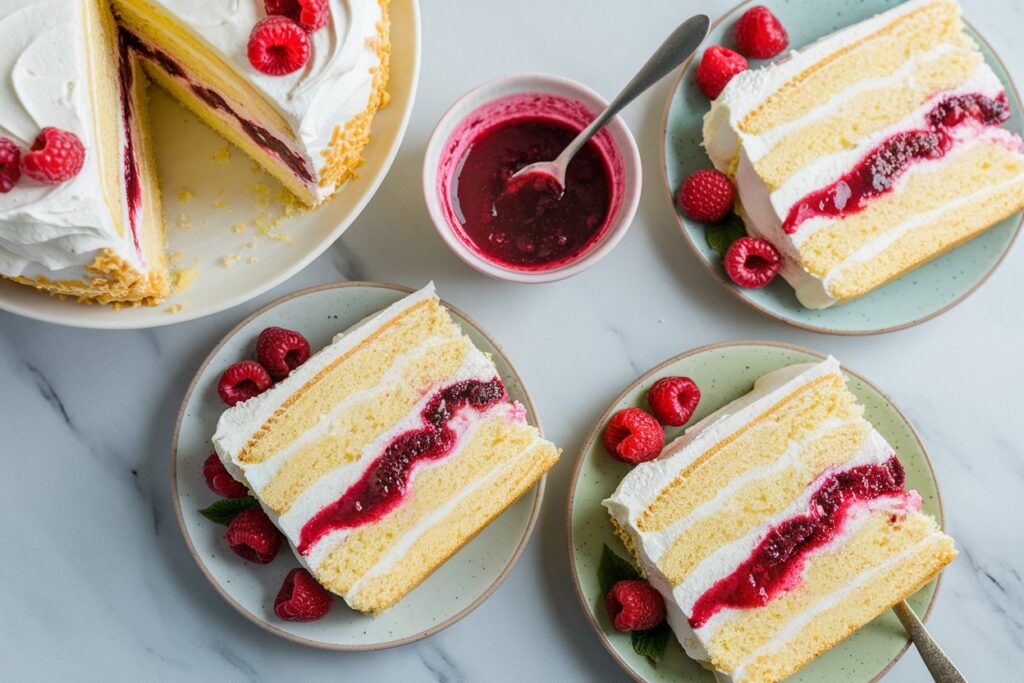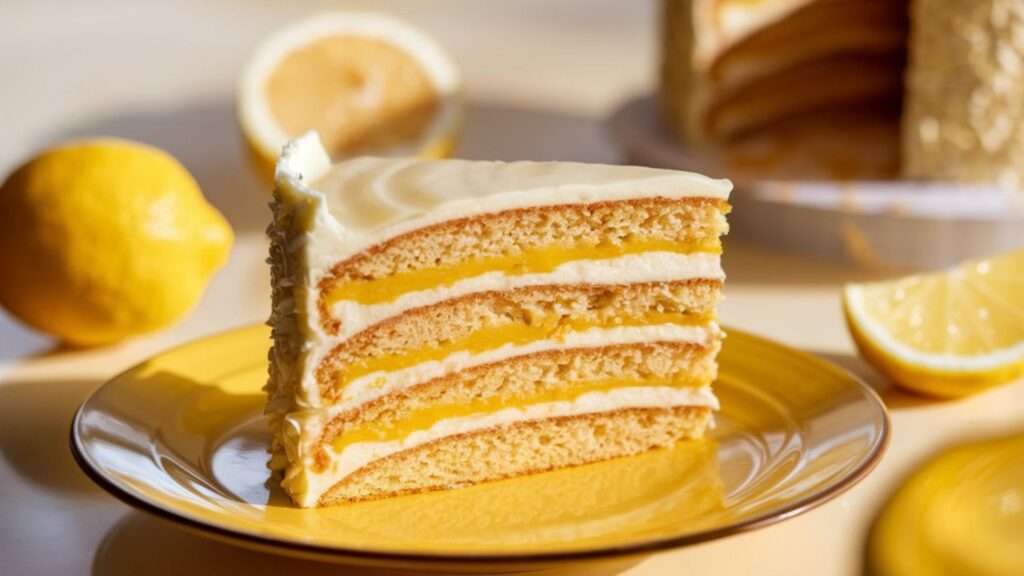
Lemon cake filling is one of those simple yet magical ingredients that can take your baking from good to great. It’s zesty, creamy, and adds the perfect balance of tart and sweet to your cakes, cupcakes, and pastries. Whether you’re a baking newbie or just looking to add something fresh to your desserts, this easy lemon cake filling tutorial will guide you through the process with simple steps and tips to make sure your result is nothing short of delicious. Ready to dive in?
Why You’ll Love This Recipe
- Perfect Balance of Sweet and Tangy: The lemon cake filling brings together the right amount of sweetness and tanginess, making it the perfect complement to any cake or cupcake.
- Beginner-Friendly: You don’t need to be a pro baker to nail this recipe. It’s simple, straightforward, and you’ll feel like a baking expert by the time you’re done!
- Versatile: This filling works with all kinds of cakes – from light vanilla to rich chocolate or even spongy sponge cakes. You can use it for birthdays, holidays, or just a sweet weekend treat. Adding a layer of lemon curd can elevate the flavor and make your cakes even more delightful.
- Make-Ahead Option: You can easily prepare it ahead of time, store it in the fridge, and use it whenever you’re ready to fill your cakes. It’s a total time-saver. Whether you make it with lemon juice and cornstarch or add a touch of lemon zest, it’ll be ready to go when you need it.
- Customizable: You can tweak the recipe to suit your taste, whether you want it dairy-free, vegan, or with an extra twist of flavor like coconut or ginger. For an extra tangy kick, you can even adjust the amount of lemon juice or lemon zest.
- Refreshingly Zesty: If you’re tired of the same old fillings, this lemony delight adds a fresh and bright pop to any dessert. It’s the perfect way to impress guests without much effort!
This recipe is all about making your baking experience enjoyable while delivering amazing results every time!
Recipe Overview
Making your own lemon cake filling is easy, and the result is totally worth it. Whether you want a light filling for a spring cake or something rich and creamy, this recipe delivers the perfect texture and flavor. Here’s everything you’ll need:
- Prep Time: 15 minutes
- Cook Time: 10 minutes
- Total Time: 25 minutes
- Servings: 12-15 servings
- Difficulty Level: Easy
- Dietary Information: Can be made dairy-free or vegan with substitutions.
Ingredients
Here’s what you’ll need to make your own lemon cake filling:
- 1 cup granulated sugar
- 2 large eggs
- 1 tablespoon cornstarch
- 1 tablespoon all-purpose flour
- 1 cup fresh lemon juice (about 3-4 lemons)
- Zest of 2 lemons
- 1/2 cup unsalted butter (or dairy-free butter for a vegan option)
- 1/2 teaspoon vanilla extract
- Pinch of salt
Equipment
To make this lemon filling, gather the following items:
- Medium saucepan
- Whisk
- Zester or grater (for lemon zest)
- Strainer (optional, to remove zest and pulp)
- Wooden spoon or spatula
- Measuring cups and spoons
- A heatproof bowl for cooling
Step-by-Step Instructions
Step 1: Prepare the Lemon Base
Start by zesting your lemons. You’ll need the zest of two lemons to infuse the filling with that fresh lemony aroma. After zesting, squeeze the lemons to get fresh lemon juice – aim for about one cup of juice. Strain out the seeds to keep your filling smooth.
Step 2: Combine Dry Ingredients
In a medium saucepan, whisk together the sugar, cornstarch, and flour. This mixture will help thicken your filling and give it that creamy, pudding-like consistency we love. No lumps allowed, so whisk it well!
Step 3: Add Wet Ingredients
Now, add in the lemon juice, lemon zest, eggs, and a pinch of salt. Whisk everything together until it’s all combined and smooth. Be gentle with the eggs – just whisk them in slowly to avoid any scrambling when the mixture heats up.
Step 4: Cook the Filling
Place the saucepan on medium heat and bring the mixture to a gentle simmer. Stir constantly with a wooden spoon or spatula. The key here is to be patient and keep stirring to prevent burning. As it heats, you’ll notice it starts thickening up. Once it reaches a pudding-like consistency (around 5-7 minutes), take it off the heat.
Step 5: Add Butter and Vanilla
Once your filling is thickened, it’s time to add the butter and vanilla extract. Stir them in until the butter melts completely and the filling is smooth and creamy. This will give it that rich, luxurious texture.
Step 6: Cool and Use
Let the lemon filling cool in the saucepan for about 5 minutes, then transfer it to a heatproof bowl. To avoid a skin from forming, cover the surface of the filling with plastic wrap. Let it cool completely before using it to fill your cakes. You’ll want it to be at room temperature or slightly chilled before using.
Step 7: Fill Your Cake
Now that your lemon filling is ready, it’s time to fill your cakes! Spread the lemon filling between your lemon cake layers, or use it as a topping for cupcakes. Any leftover filling can be stored in the fridge in an airtight container for up to a week.
Pro Tips
- Make Ahead: Lemon cake filling can be made in advance and stored in the fridge for up to a week. This is great if you’re prepping for a party or need a time-saver! You can also prepare lemon curd ahead of time for an extra burst of lemon flavor.
- Consistency: If your filling turns out too thick, simply add a little more lemon juice or water to loosen it up. If it’s too runny, cook it a bit longer to thicken it up with cornstarch. Adjust the texture to your liking and make sure it’s just right for your lemon cake.
- Vegan/Dairy-Free: To make this recipe vegan or dairy-free, use plant-based butter or coconut oil in place of the butter. The texture will be just as smooth and delicious! You can also opt for a dairy-free lemon curd.
- Straining: If you want an ultra-smooth filling, you can strain out the lemon zest and pulp after cooking. This will ensure a silky, velvety filling perfect for your lemon cake or other desserts.
Variations You Can Try
Lemon and Blueberry Filling
Add a handful of fresh blueberries to your cooled lemon filling for a pop of color and extra fruity flavor. The sweet-tart combination of lemon and blueberry is a match made in dessert heaven!
Lemon Curd Filling
For a thicker, richer filling, cook the mixture a bit longer so it turns into a luscious lemon curd. This will give your cake an extra indulgent texture. You can also adjust the thickness using cornstarch if needed.
Lemon and Ginger Filling
Add a teaspoon of freshly grated ginger to your filling to give it a subtle warmth and spice. It’s a unique twist that adds depth to the lemony tang. If you want to thicken it, you can add a bit of cornstarch.
Lemon and Coconut Filling
Mix in some shredded coconut once the filling has cooled. The coconut adds a tropical flair and a chewy texture that pairs beautifully with the lemon. The lemon juice and lemon zest give the filling its refreshing flavor, while the coconut adds richness.
Lemon and Lavender Filling
For something a bit more sophisticated, try infusing your filling with lavender. Add a teaspoon of dried lavender when you’re cooking the lemon juice and lemon zest, and strain it out before using. It gives a lovely floral note to your filling!
Conclusion
And there you have it – a simple, easy, and totally delicious lemon cake filling recipe that’s perfect for beginners. Whether you’re filling cakes, cupcakes, or tarts, this lemon filling adds a refreshing burst of flavor that’s sure to impress. The best part? It’s customizable, so you can play around with flavors and ingredients like lemon juice, lemon zest, or even lemon curd to make it truly your own.
Don’t be afraid to experiment and make this filling your go-to for all your baking adventures. The more you make it, the more you’ll fall in love with how easy and versatile it is. You can even thicken it with cornstarch if needed! Happy baking!